

Here's a shot of the engine install on my homebuilt.
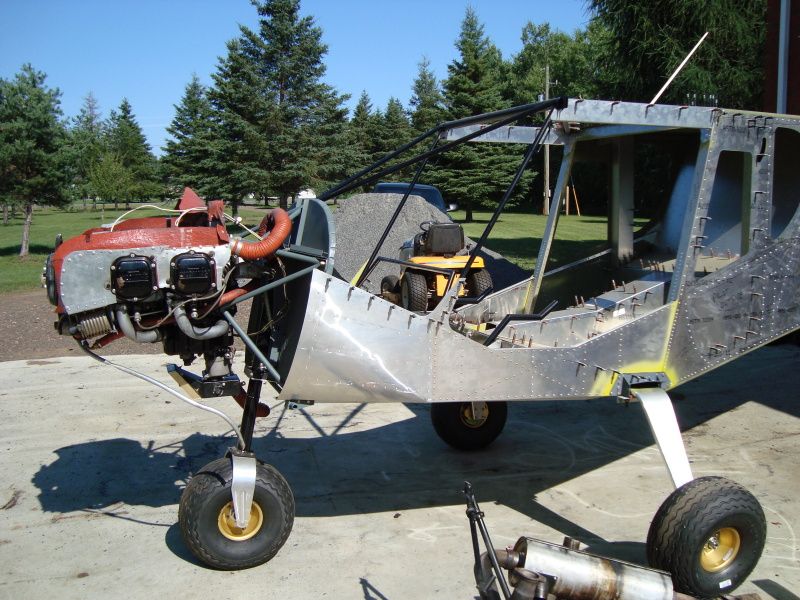
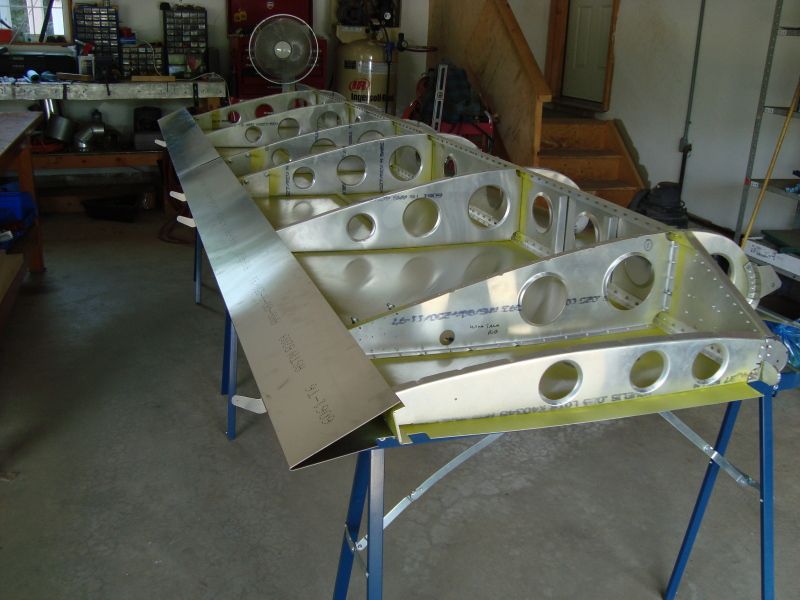
Currently finishing the second wing so all the major components will be done soon. Then I start working on the glass panel!!
I can upload more photos if anyone is interested in the build!
Moderators: sky's the limit, sepia, Sulako, lilfssister, North Shore


|
|
Use AvCanada's information at your own risk!
We reserve the right to remove any messages that we deem unacceptable.
When you post a message, your IP is logged and may be provided to concerned parties where unethical or illegal
behavior is apparent.
All rights reserved.

")


